The Knowledge Base (KB) is a crucial part of your Persona, where you add, manage, and organize the information your Persona will use to interact intelligently. Here's a comprehensive guide to using the Knowledge Base tab effectively.
Step 1: Accessing the Knowledge Base
-
Open the Persona App: Launch the Persona app on your device.
-
Navigate to the Knowledge Base: Click on the "Knowledge Base" tab from the left sidebar menu.
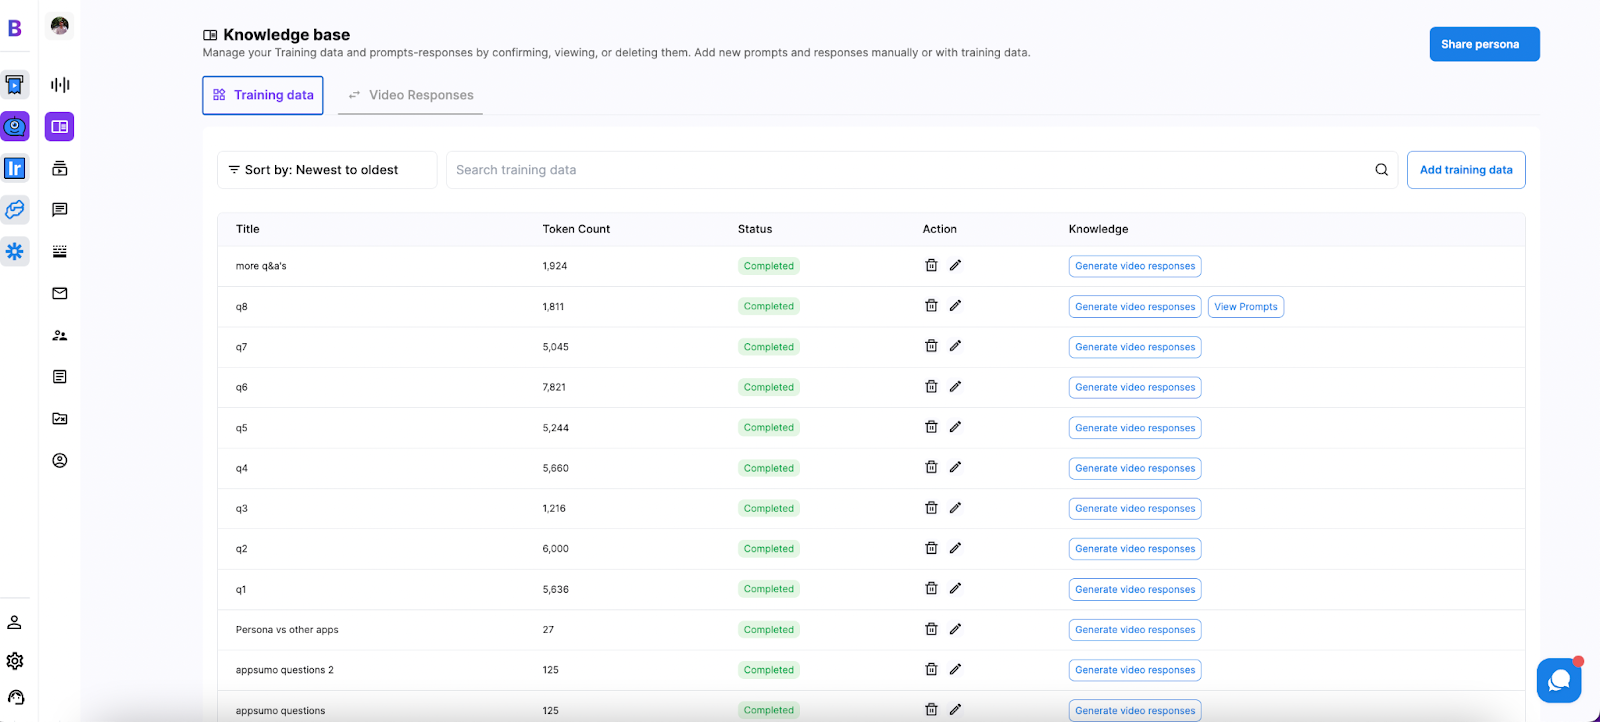
Step 2: Adding Training Data
Adding New Training Data
-
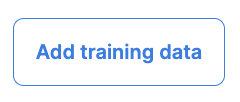
Click "Add Training Data": On the top right corner of the Knowledge Base screen, click the "Add Training Data" button.
-
Fill Out the Training Data Form:
-
Title: Enter a title for the training data.
-
Data Options: Select at least one data option (URL, Attachments, Text).
-
Main Domain (URL): If applicable, enter the main domain URL for the training data. You can add multiple domains.
-
-
Click "Next": After filling out the form, click the "Next" button to proceed.
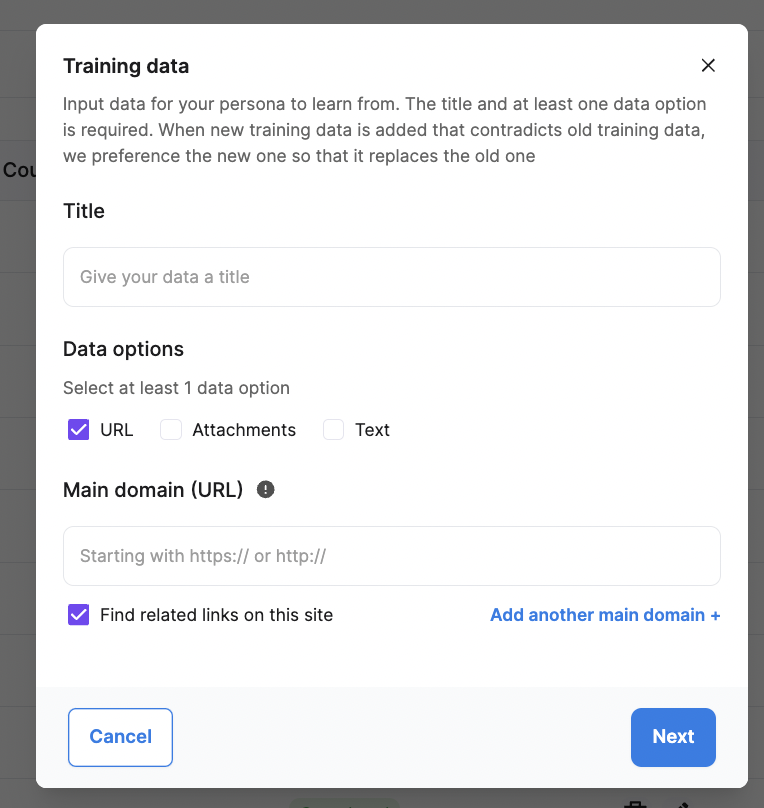
Generating Video Responses
If you have cloned your face already in the Video Persona tab, you can generate video responses from an item in the KB.
-
Click "Generate Video Responses": For the specific training data item, click the "Generate Video Responses" button.
-
Specify Generation Range: Indicate the number of prompt-responses you want to generate.
-
Description (Optional): Provide any additional information you want the AI to include in the responses.
-
Click "Next": Proceed to generate the video responses.

Step 3: Managing Training Data
Deleting or Renaming Training Data
-
Delete: Click the trash bin icon next to the training data item to delete it.
-
Rename: Click the pencil icon next to the training data item to rename it.
Note on Editing
Currently, you cannot directly edit an existing training data item. We are working on adding this feature in the future. For now, you can delete the old data and upload new knowledge, or just upload the new knowledge. Your Persona is designed to always prioritize the latest information uploaded, so it will naturally find and use the most recent data on a subject.
Step 4: Video Responses Tab
Viewing Generated Video Responses
-
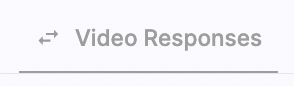
Navigate to the Video Responses Tab: Switch to the "Video Responses" tab within the Knowledge Base section.
-
View Responses: Here, you can see the list of video replies your Persona has generated.
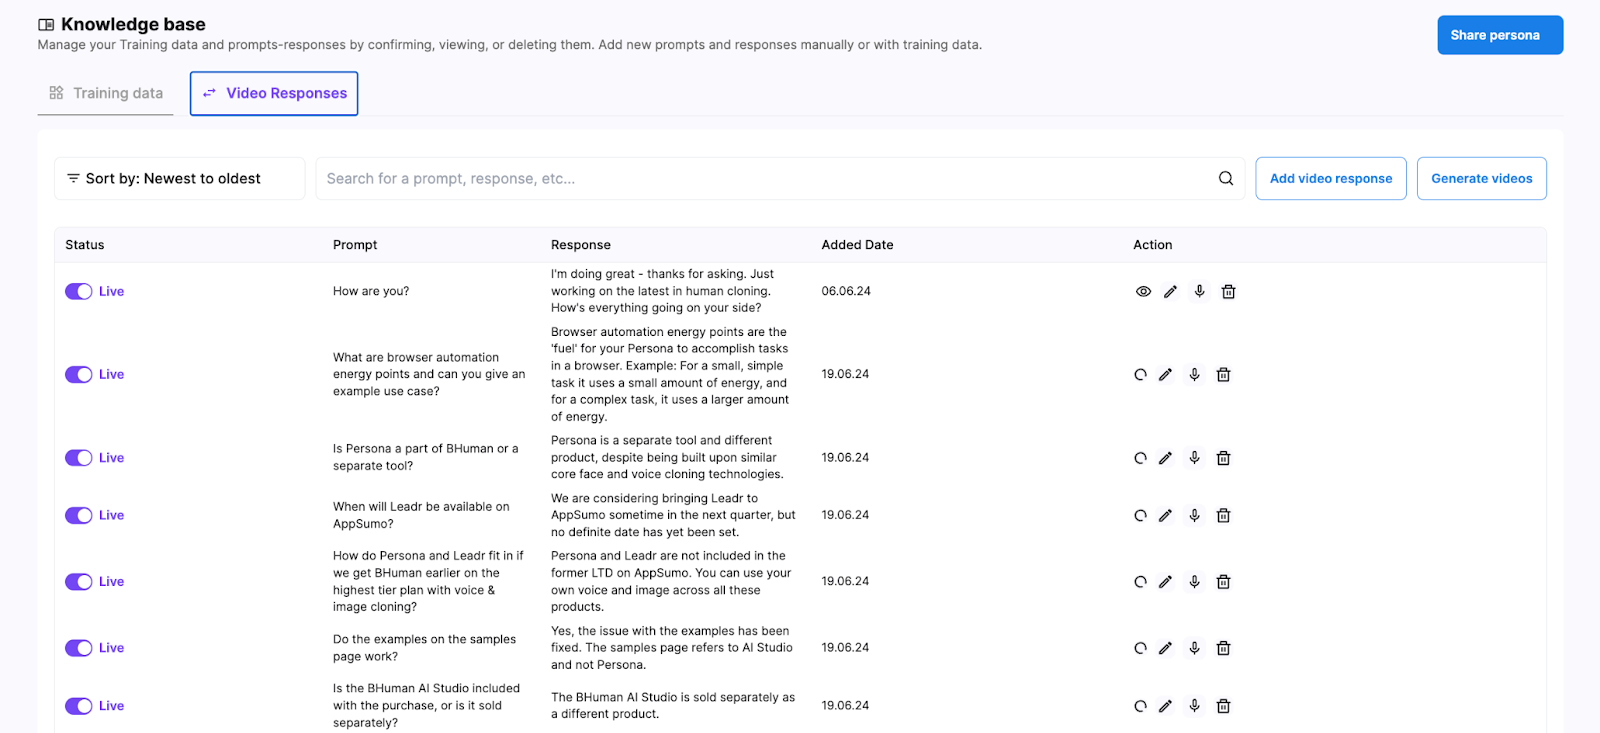
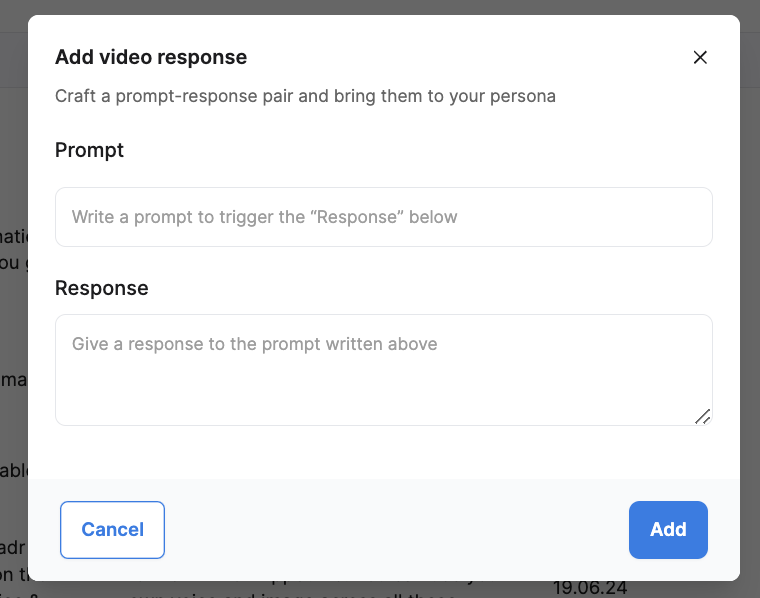
Adding Prompt-Response Manually
-
Click "Add Video Response": To add a prompt-response manually, click the "Add Video Response" button.
-
Fill Out the Form:
-
Prompt: Write a prompt that will trigger the response.
-
Response: Provide the corresponding response.
-
-
Click "Add": Save the prompt-response pair.

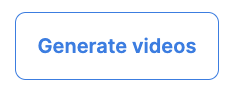
Generating Videos
-
Click "Generate Videos": Once you're satisfied with the responses, click the "Generate Videos" button.
-
Wait for Processing: A loading spinner will show that video replies are being generated for each response.
Step 5: Using Video Persona in Chats
Enabling Improvisation
-
Enable Improvisation: In the Share pop-up, enable "Allow my Persona to improvise in video chats."


Behavior
-
Improvisation Enabled: Your Persona will try to use generated video responses when possible but will improvise if no suitable video is available by showing a "weak connection" message and generating a voice-only reply.
-
Improvisation Disabled: Your Persona will only use the pre-generated video responses and will give a "no reply" response otherwise.
By effectively managing your Knowledge Base, you ensure that your Persona can provide accurate and contextually relevant information. Whether you're updating training data, generating video responses, or setting up manual prompt-response pairs, these steps will help you maintain a robust and responsive digital clone.